D is for Days
- Admin

- Jul 21, 2017
- 2 min read
The Page
D is for Days
Supplies Needed
Embroidery Thread and Needle
Optional: Snap Pliers
Optional: Sewing Machine
Here's How You Make It:
Step 1: Laying It Out
(I know I'm queen of the blueprints for I didn't think this page called for one)
The first step is to decide how big to make your day tiles. (I went with 2x3 inch rectangles that way they would cover the background, but I could still add other parts to page as well)
Next step is to set up your background felt for the day tiles. Since my tiles are 2 inches wide and there are seven of them and my background felt is only 9 inches wide, I knew I needed to make two lines. So I decided to make a top row of four (my "spare day" line) and a bottom row of three (my "current days" line).
Here's what my background looks like:

As you can see above my bottom row I wrote out "yesterday", "today" and "tomorrow". That way as my kids grow they will have a new way to play with it.
I also marked the center of each rectangle, so I would know where to put the female fasteners later.
Step 2: Creating the Day Tiles
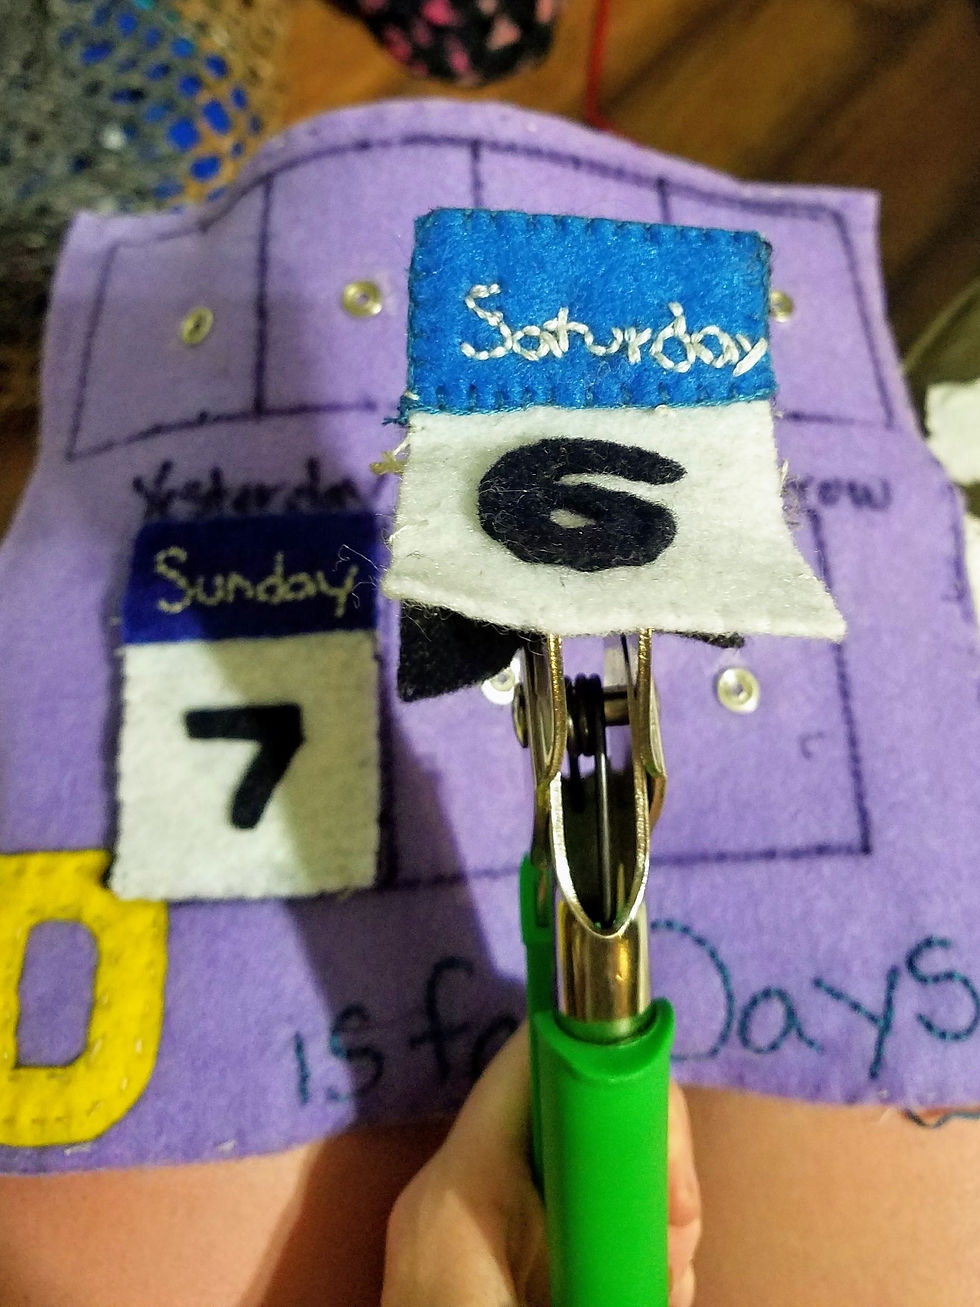
For my day tiles, I decided to use a Monopoly style tile. That would be a white rectangle with a color rectangle along the top. In the color rectangle I wrote which day of the week and in the white part I sewed down a corresponding number to the day of the week. (1 for Monday, 2 for Tuesday and etc.). I also cut out a black backing piece for each tile.
Once I had all my color lines created and marked for each day, I sewed them down along the top of the white and the black rectangles. Once that was secure, I used my snap pliers and fastened the male snap onto the back.

And while I had the snap pliers out, I also fastened the female snap into each rectangle on the main page

Some of the rectangles were hard to reach with the snap pliers, so sew on snaps are just as good for this case!
Once i had all my snaps in place. I used an overhand stitch to stitch the tiles together

Step 3: Finishing Touches
As always with my activity books finish off the page by cutting out a D out of some scrap fabric and stitch that down in the bottom lefthand corner. Then back stitch on the words 'is for Days'.
I also used my sewing machine to stitch along the rectangle lines.

And finally I back stitched along the words 'Yesterday', 'Today' and 'Tomorrow'.

Here's How It Turned Out:


Comments